
How to build a rain barrel in 10 minutes
(Note: this post was originally posted in 2012 on my previous blog and has been updated)
It feels a little ironic to write about a rain barrel after our area had record rain over the past week.
I've always wanted to use a rain barrel. It's free water. And let's face it, free things are few and far between these days.
Our venture into creating a barrel was even more sweeter when we moved into our rental house in 2011 and found one in the garage. Finders, keepers! Thanks previous tenants.

Jason was happy to work with his power tools and I am happy to have a barrel. So it was a win/win.
You will need:
a 55 gallon drum with the top cut off. You can purchase some with removable lids but you can also get them free or cheap on Craigslist.
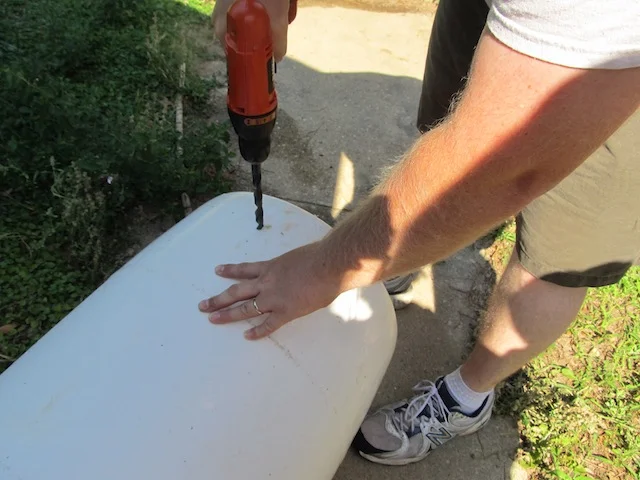
1. First Jason drilled a hole in the barrel.
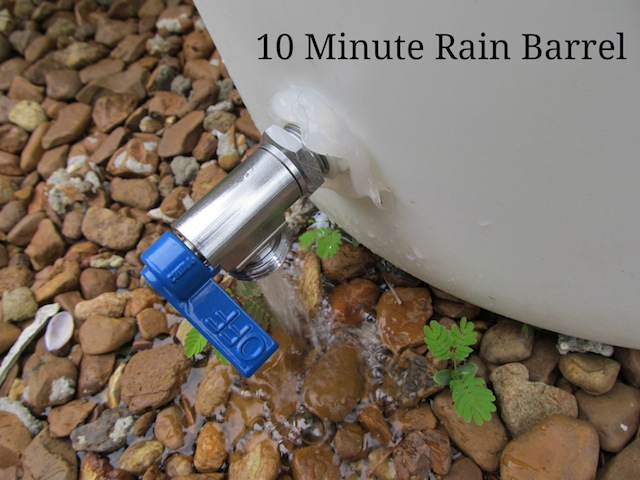
2. Then he fitted a 1/2 inch Faucet Rosette Washer and Nut (I don't know what any of that means) to the barrel.
3. He then added a 1/2 inch washing machine valve and then sealed in the hole with silicone.
It is recommended that you cover the barrel with mesh or a piece of screen to keep out debris and critters. It has rained so much here recently that hasn't been necessary yet. But you can fashion the mesh to the barrel with a bungy cable.
4. When you're ready to use the water just screw your water hose into the faucet valve.
5. Just move the barrel to a down spout or the corner of your house where it will collect the most run off.
What about you? Have you ever built a rain barrel?